Remark
This page is no longer maintained but as it can be found by old link references on the web it is not removed.
For new developments visit:
http://www.jahoma.nl/timereg
Original page content
This page describes some details about Camstudio and Xnote configuartion. The pages are no longer maintained as we started a long time ago with writing our own solutions using high speed camera’s.
Camera Viewer & MotionAlerter configuration
Camstudio configuration
When the Camstudio4Xnote application is used all settings required to let Camstudio interact with Xnote and MotionAlerter are still set.
If your recording do not start if you press Start in Xnote checksetting below in Camstudio.
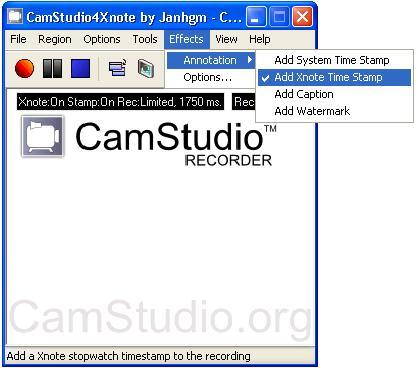
Annotation setting is required to get a stopwatch annotation in your recording. Annotation is added to each frame but you will not see it until you play back your recording.
Settings below are required to make Camstudio Xnote sensitive (enable external control).
The first checkbox enable cooperation with other external application as Xnote Stopwatch and MotionAlerter.
The second checkbox “Set stopwatch delay” is required to get Xnote stopwatch time as presented in the annotation in sync with your recording.
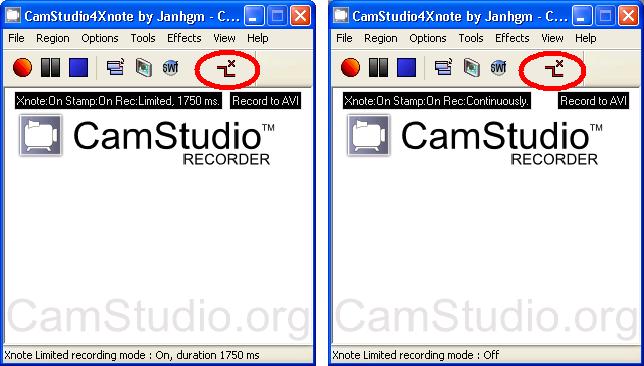
The third checkbox defines how long a recording will run before Camstudio will switch to pause mode.
Before you start a recording or while a recording is running you can toggle autopause mode between “on” or “off” state.
You can use this Xnote recording pause button if there are events where you decide auto pause is not what you want to happen now.
Other important settings.
You must define which area from your screen you will record. There is no need to record Xnote result window because all events are recorded in the camera image as well. Instead of recording Xnote stopwatch you can decide to show Xnote in full screen mode to your audiance.
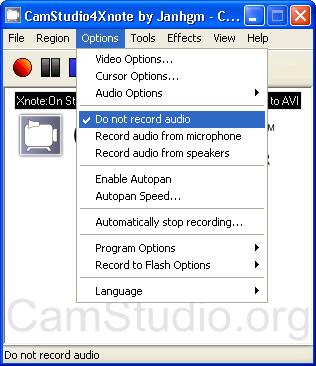
Standard Camstudio4Xnote does not record sound.For two reasons. One, we do not need it. Two, without sound recording there is no need to merge sound and movie and we can start watching our recording straight after we used the Xnote reset function.
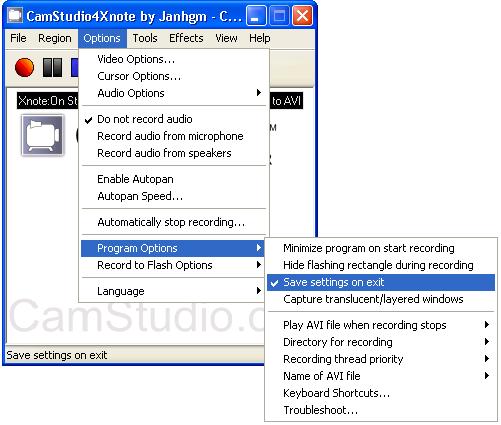
Camstudio4Xnote program settings.
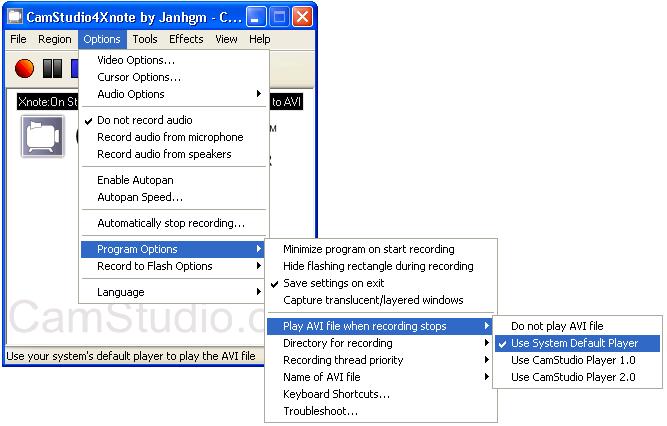
Save on exit assure that you can restart Camstudio as you left it.
Set player to default player (we use Quicktime)
By default recording in the application directory. Change this to one of your own maps.
Auto file naming is our preferred setting because it guarantee that no recording is accidental overwritten (and it make it easy to find recordings back again).
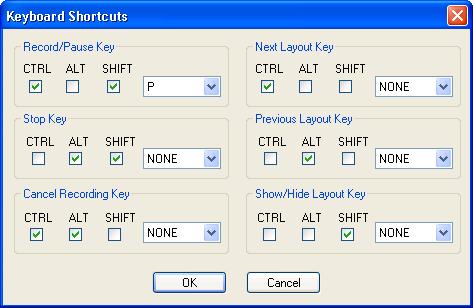
Camstudio hotkeys settings.
Only the pause is set because Camstudio is driven by events from other application. Pause key is set because it allows us to quickly set or interrupt pause mode.
All other Camstudio configuration settings can be found on Camstudio webpage or on this, just discovered, excellent website from Terry Britton that shows lot of information how to use Camstudio Screencast Tutorial
Xnote Stopwatch configuration
Xnote must be configured first.
Xnote configuartion can be set with the functions attached to Xnote “More”
“More” sub menus that requires some tuning are:
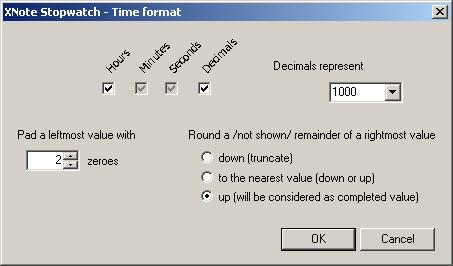
- Timeformat…
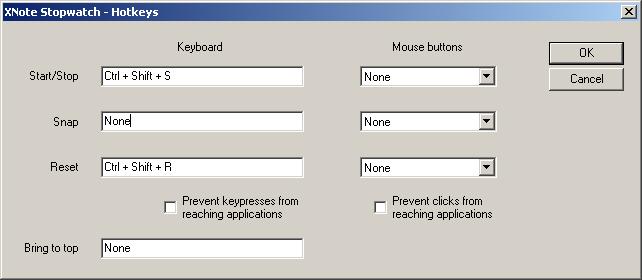
- Hotkeys…
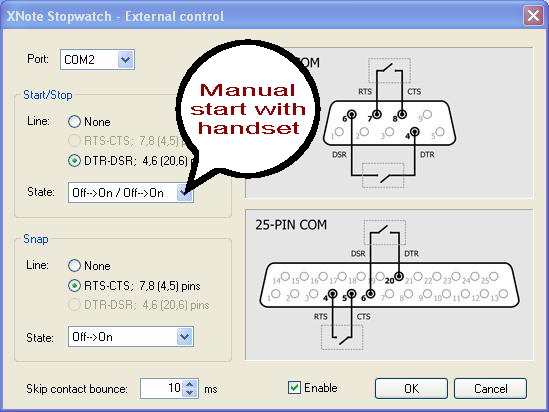
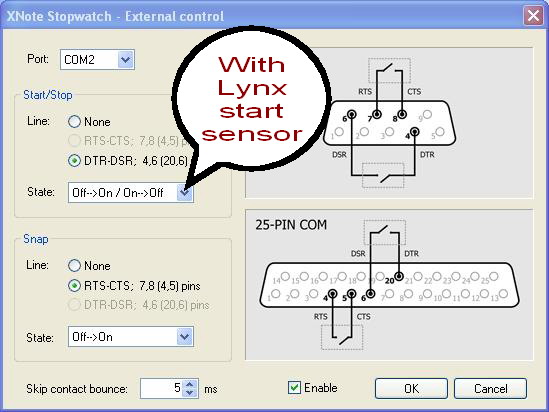
- External Controle…
These few screens are the most important screens you must configure. You can use all other Xnote settings, but these three are the most important
Camera Viewer & MotionAlerter configuration
This section describe how you must configure the MotionAlerter application we created.
Remember the current MotionAlerter application is still in development. Some things on this pages maybe be done differently in the near future.
Short instruction how to setup your camera and to define which area should be sensitive.
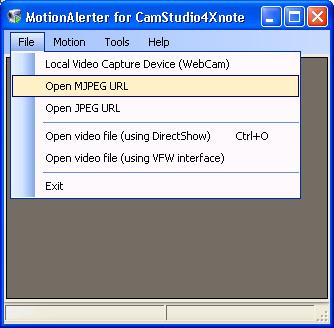
Step-1 : . In this case we want to open an IP camera connected somewhere on the network.
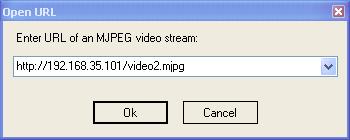
Step-2 : Now define where your camera is and how JPEG or MJPEG can be received. The manual of you camera will tell you what you have to write here.
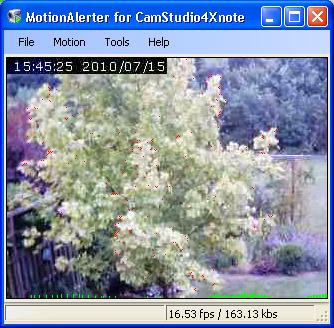
If your camera can be accessed you will see your camera image.
Note that the screen spikes below indicate that there was a little movement. Red dots in image show you where there is now any movement.
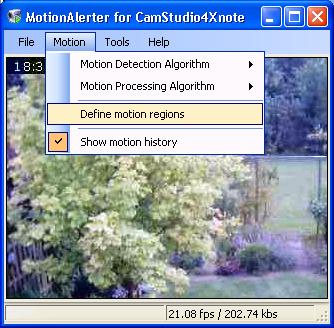
Step-3 : Menu to start with define your own motion area’s.
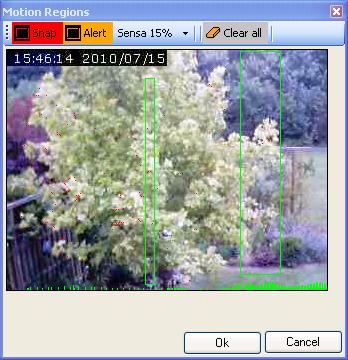
Step-4 : Define your own area.
Start with “Clear all” this will make the area non sensitive.
Define with “Snap” and “Alert” the area you want to be sensitive.
Video players configuration
Nothing much to say about. We advised Apple’s QuickTime. If you use it set the option to reuse previously open QuickTime screen to ‘on’.

